|
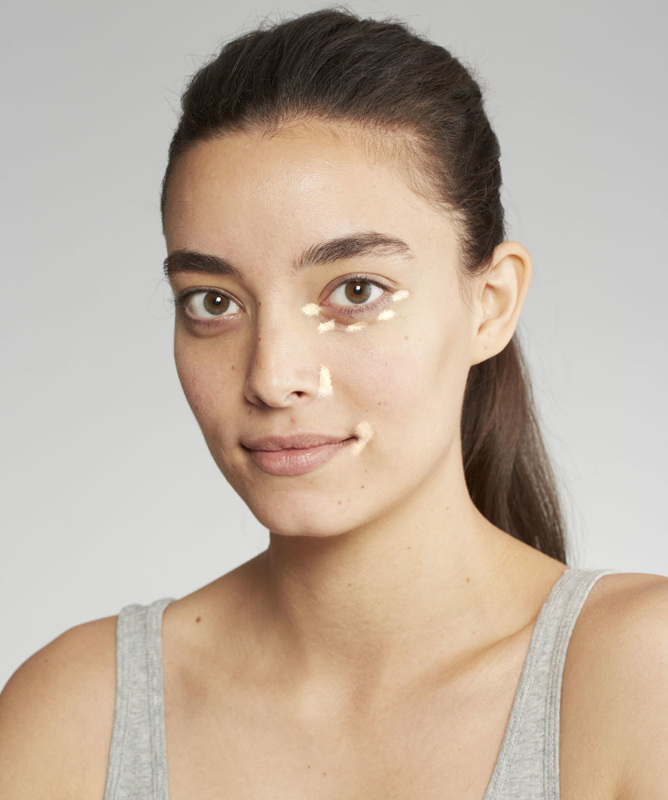
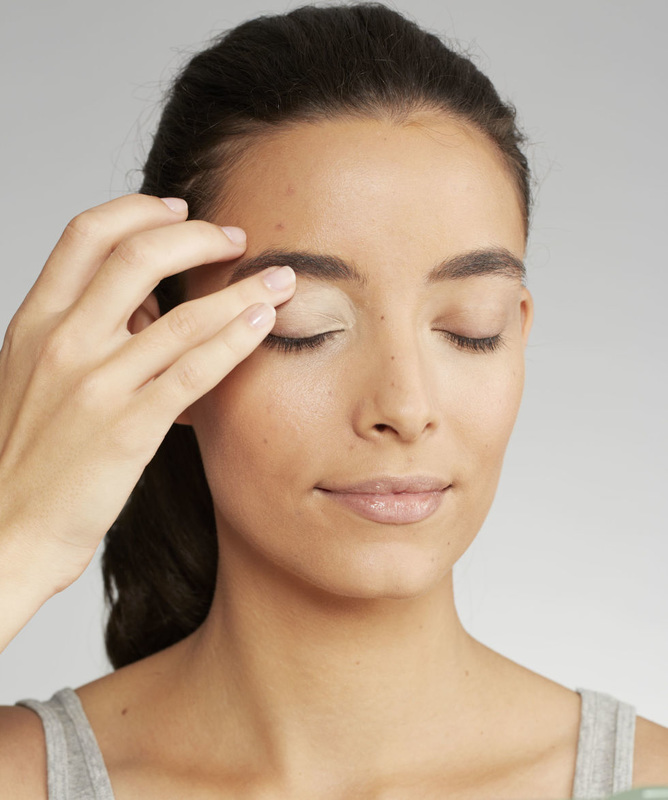
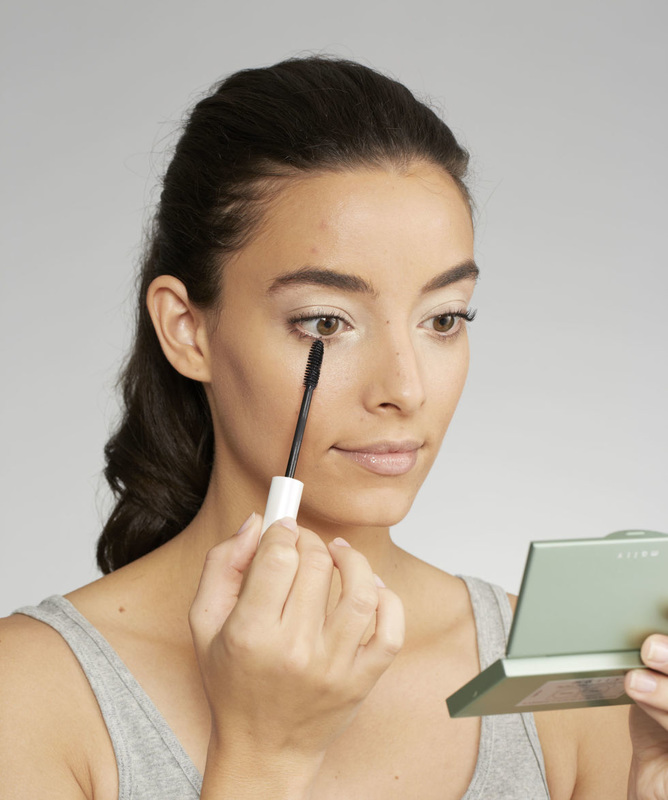
School's back in session which means late nights and early mornings are bound to run together. Seeing as how you cannot be late to those early morning meetings, meet your new morning routine. Ready in ten minutes or less! Things you’ll need: Bobby Pins Hair Ties Dry Shampoo Hair Spray Mascara Concealer Blush Immediately cleanse your face after you wake up. You really should wash your face before you go to sleep but we’re not judging! Start with Concealer. No matter your skin tone, a creamy concealer with a yellow base will counteract dark circles. Dot it under your eyes and on red areas like the corners of your nose and mouth. To blend, press and roll your ring finger over the dots. If you wear foundation, smooth that on next. To cover veins and redness around the eye, make sure to pat some concealer all over your lids, up to the brow bones. Next, Apply Mascara to both top AND bottom lashes. This gives you that wide-eyed effect, plus it makes any under-eye puffiness less noticeable. To do your lower lashes, hold the wand vertically and lightly brush each lash. Lastly, dust on some blush!
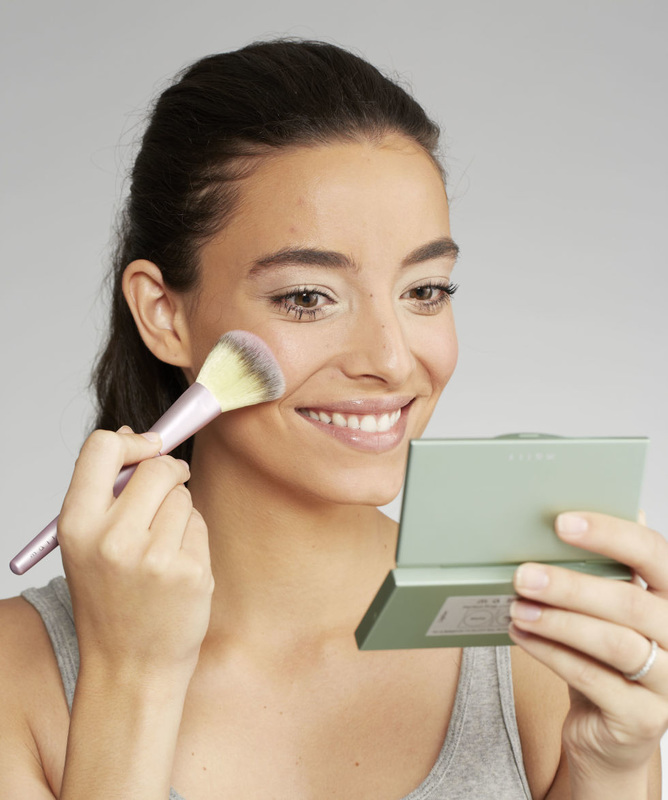
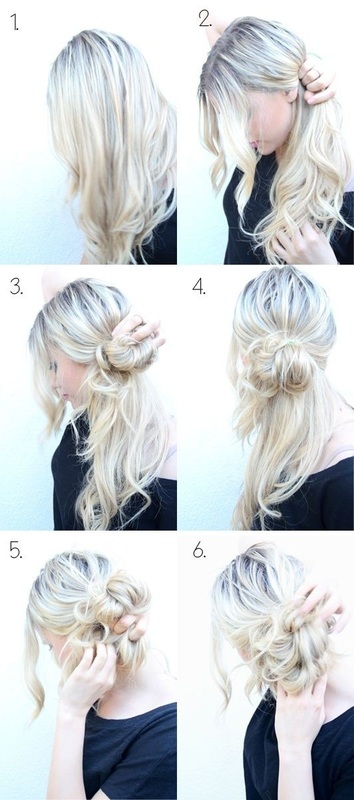
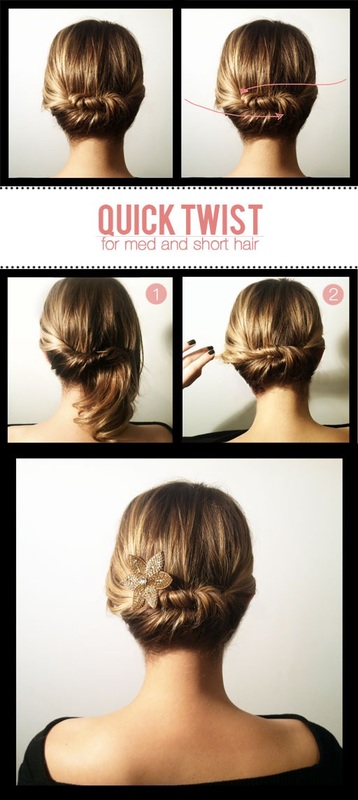
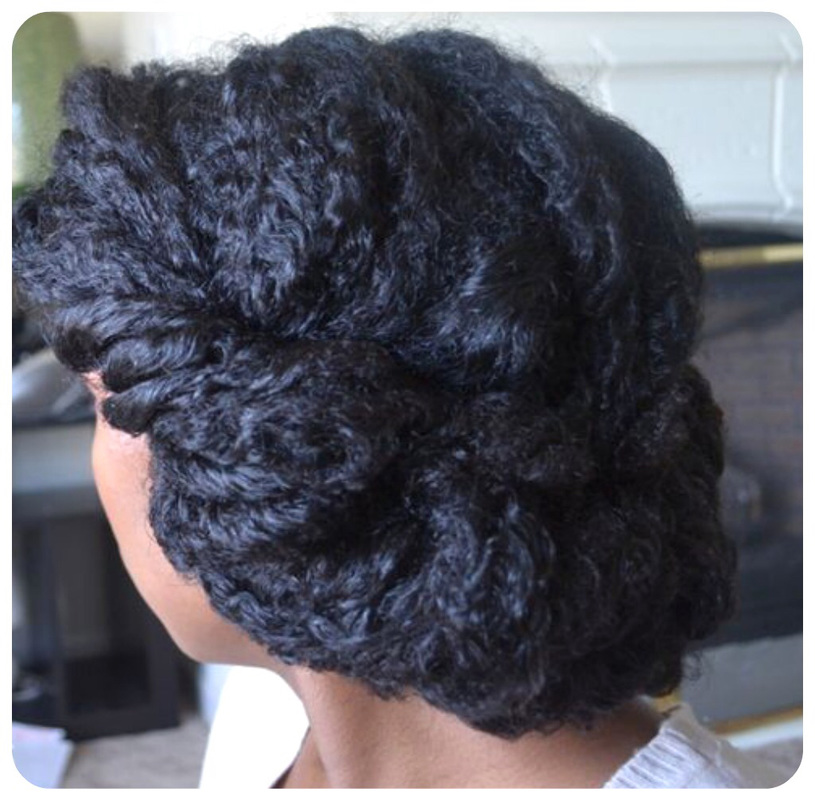
A soft, peachy pink color adds radiance to all skin tones. Just choose one that's not too shimmery, because sparkly cheeks never look natural. Swirl the hue on the apples of your cheeks, then sweep the brush up along your cheekbones. Nothing says a hang over like lifeless dull skin! Now let's address your hair: If you are waking up with hair that was styled the night before and you feel like it's not TOO greasy- apply dry shampoo at the roots and let it sit. Spray a little of the dry shampoo through the ends to absorb any oil. Then follow any of these tutorials and finish with hairspray!
1 Comment
How to Blow Dry like the Professionals
Tools: Blow dryer with the nozzle, leave-in conditioner or detangler, protective serum or frizz taming serum, medium to large round brush, clips. 1. On wet hair, spray leave-in conditioner or detangler so that you’re not ripping at your hair as you brush it out. We love the Oi milk, as well as the Dede leave-in by Davines. Always best to apply leave-in or detangler right out of the shower, before the hair starts to air dry. Spraying it on air dried hair may cause the hair to feel sticky in the long run. 2. Fringe first! The wetter this section is, the better! 3. Rough dry your hair. You can get 75 percent of the moisture out of your hair by rough drying. The more you do without a brush the less damage you’ll inflict on the hair. Make sure your nozzle is on your hair dryer! 4. Now apply a frizz tamer, oil, or protective serum. We recommend the Love Smooth smoother, OI oil and the Melu protective spray. Whatever you and your hairstylist like the most. I like to apply this after I rough dry. The hair needs more protection and smoothing when there’s direct brush + blow dryer contact. If you put it in before this, it may not be as helpful. You don’t need a lot! Just a little applied from the middle of your hair to the ends. 5. Next move to the back. Pull the sections around as you dry. Stretching them will help smooth them. Brushes with lots of natural bristles are great for smoothing because they grab the hair and get lots of tension. Always turn your head to the side when blowing out the back. It’s easier on your arms and you get more access to the root area which is important in the back sections. Work your way up, section by section, until you reach the top/back. 6. Then you’re on to the sides. Divide the left + right sections and clip them up. The most important thing on the sides is getting even tension. Make sure the hair is laying evenly on the brush. Also, since you started in the back, this will have air dried a little. Wet it a little bit if you think it’s getting too wavy. Once the hair starts drying and developing its own wave, you need to wet it a little or you’ll just end up with more frizz. Stop for knots! Comb them out nicely or bad things can happen! 7. After you’ve blown your hair out entirely, go back through and handle the fly aways! My favorite technique for that is blowing all the little hairs underneath the big hairs. In other words, using your blow dryer with the nozzle attached, push the little hairs underneath the longer heavy hairs. The longer heavy hairs will sit on top of the little hairs and weigh them down! It’s my favorite trick and works so much better than loading the top of your head with hairspray. 8. After you’ve gotten dressed and the hair has cooled, the fly aways should be tamed. Now go back in, take off the nozzle, flip your head over and “stir it up”. This gives you a more natural, piece-y look and keeps it from looking too done.
|
AuthorsGia Smith,Hannah Rose, Brittany Dabney and Ally McMahan. Archives
November 2017
Categories |




 RSS Feed
